Achieving Flawless Floors: Preparation Techniques from the Pros Feb 04, 2026
One of the first steps in floor preparation is understanding the specific needs of your chosen flooring type. Whether you’re installing hardwood, tile, laminate, or vinyl, each material requires a different approach to ensure optimal adhesion and longevity. Assessing the condition of your existing floor is equally important. Check for any cracks, moisture issues, or uneven subfloors that might compromise the final result.
The next critical step involves removing any existing flooring materials. This might require anything from a gentle prying tool for delicate materials to more heavy-duty equipment for tougher industrial flooring. At John's Flooring Demo & Prep, we stress the importance of patience during this phase. Rushing the removal process can damage the subfloor or the surrounding areas, leading to future headaches and additional costs.
After the old flooring is successfully removed, it’s time to address the subfloor. A clean and stable subfloor is essential for a fault-free finish. Start by inspecting it for any damage. Look for signs of water damage, mold, or weakness that need addressing before moving forward. For concrete subfloors, sealing any cracks or smoothing uneven areas is vital. In contrast, wooden subfloors may need to be reinforced or replaced if rotten or warped.
Moisture control is another critical aspect of floor preparation. Excessive moisture can wreak havoc on your new flooring, causing it to warp, buckle, or grow mold. Utilize moisture barriers or sealants, especially in areas prone to dampness like basements or bathrooms. At John's Flooring Demo & Prep, we recommend conducting moisture tests before installation day to ensure the environment is suitable for your flooring type.
Once the subfloor is in top condition, it’s time to focus on achieving level groundwork. Uneven surfaces can cause issues like squeaking or gaps in the flooring. Use leveling compounds as needed to smooth out any irregularities. This not only simplifies the installation process but also enhances the aesthetic appeal and structural integrity of the finished floor.
Before laying down your new flooring, take the time to acclimate your materials in their environment. Flooring materials, particularly wood, need to adjust to the room's temperature and humidity levels to prevent expansion or contraction post-installation. Allow the materials to sit for a few days to adapt naturally.
Finally, preparation involves more than just physical groundwork. Having a clear project plan is essential for success. Consider the timing, budget, and any additional resources you might need. At John's Flooring Demo & Prep, we always advise our clients to map out the process to avoid unnecessary surprises and setbacks.
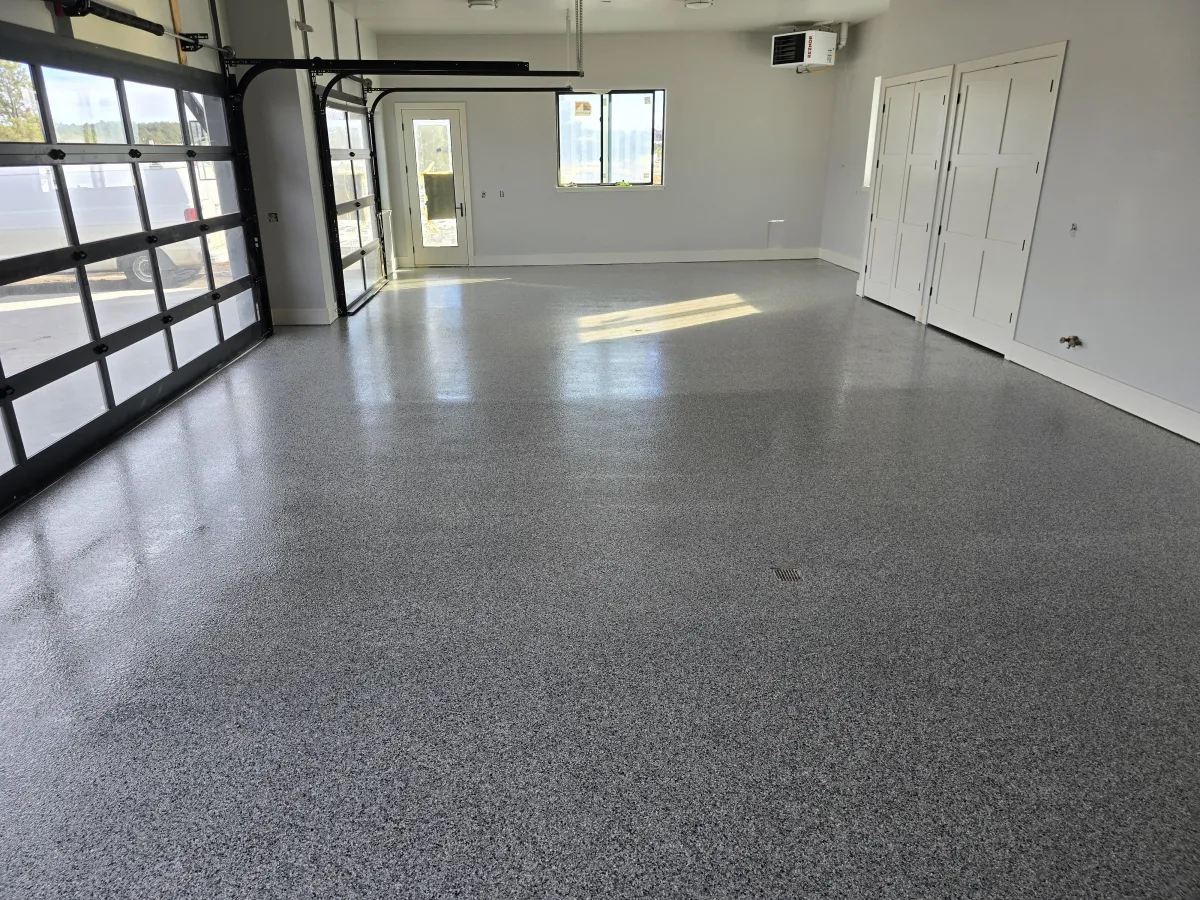
By following these preparation techniques from the pros, you’re setting your project up for success. Whether you’re doing it yourself or relying on the expertise of John's Flooring Demo & Prep, proper preparation ensures that your dream of flawless floors becomes a reality. Don't underestimate the power of a well-prepared foundation—a beautiful, durable floor is always worth the effort.
/filters:no_upscale()/filters:format(webp)/media/7599936a-a937-4809-9f1e-71a6f6a7b777.webp)
/filters:no_upscale()/filters:format(webp)/media/228f22fd-a659-4e5f-b6ea-702276badfd5.png)