Preparing Your Floors for Excellence: An Insider’s Guide by John’s Flooring May 31, 2026
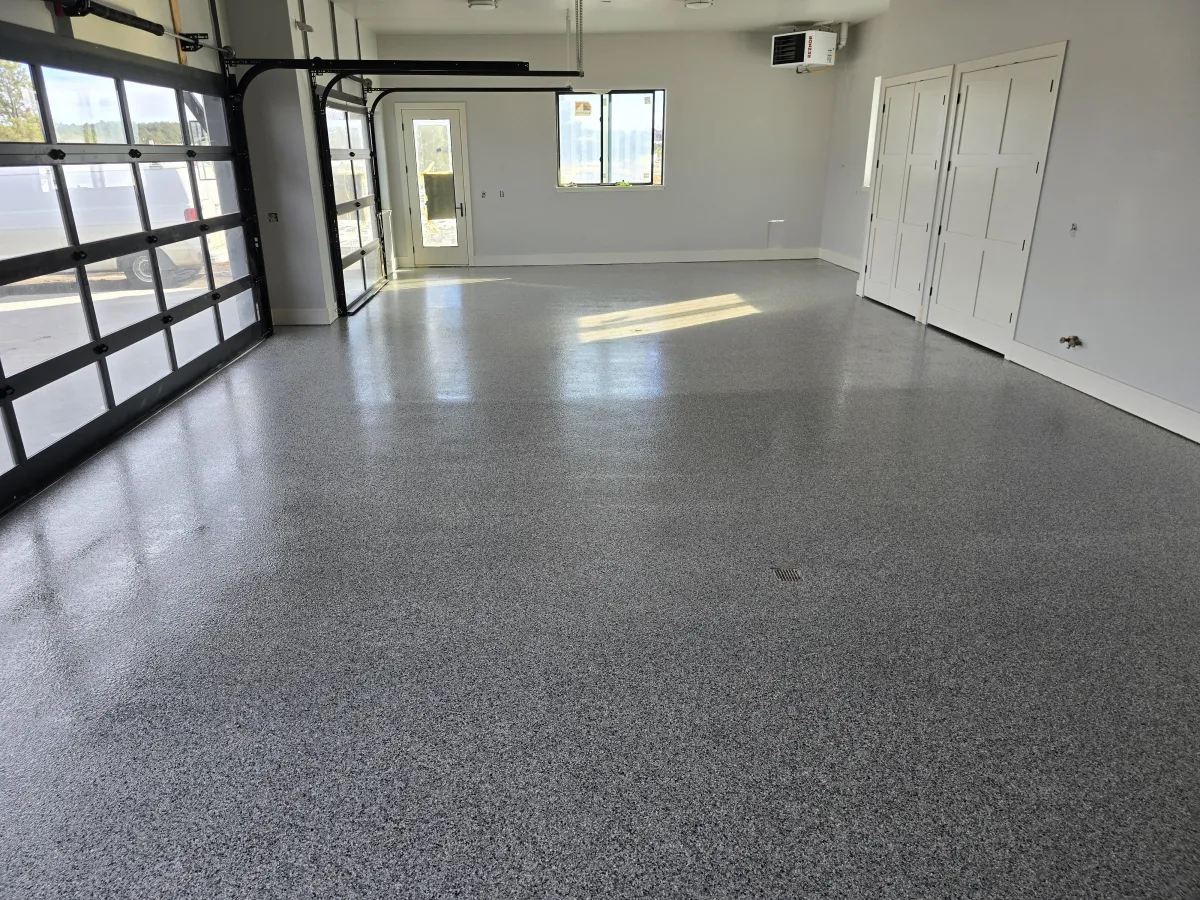
The process begins with understanding the importance of floor preparation. Proper flooring prep ensures a smooth, even surface, which is vital for the longevity and aesthetics of your flooring. This means thoroughly cleaning and leveling the subfloor, repairing any imperfections, and ensuring the surface is dry and stable. Each of these factors plays a part in creating a seamless floor installation.
The first step is to clear the space. Remove all furniture and household items from the area to be prepped. This allows you to inspect the subfloor for any damage or wear that needs attention. At John's Flooring Demo & Prep, we emphasize the importance of repairing cracks, filling holes, and sanding rough areas. A well-prepared subfloor is essential for a successful installation.
Next, a thorough cleaning is crucial. Dust, dirt, and debris can interfere with the adhesive and smoothing process, leading to an uneven surface. Use a vacuum and damp mop to remove all particles. Be sure to allow the floor to dry completely to prevent moisture-related issues, such as mold or mildew, which can compromise the integrity of your new flooring.
Once the area is clean, it’s time to check for moisture. This is especially important if you are installing flooring in a basement or other areas prone to dampness. Using a moisture meter, ensure that the subfloor falls within the recommended moisture levels for your chosen flooring material. Excessive moisture can lead to warping or buckling, undermining the installation.
The third step involves leveling the floor. Uneven surfaces can cause unsightly gaps and make the floor uncomfortable to walk on. Use a self-leveling compound to address any dips or high spots on the surface. This step creates a flat, smooth foundation, ensuring that every type of flooring—from hardwood to tile—sits perfectly in place.
When prepping for specifically laid flooring, like tile or hardwood, dry fitting is an essential practice. This involves laying out the tiles or planks without adhesive to shape a clear plan ahead of the actual installation. It offers the opportunity to detect potential issues, such as mismatched patterns or awkward cuts, before committing to the layout.
Finally, with everything in place and the subfloor perfectly prepared, John's Flooring Demo & Prep recommends a primer coat. This enhances the adhesive bond between the floor covering and subfloor, ensuring a long-lasting, professional finish.
Given the intricacies involved in flooring demo and prep, consulting with professional experts like John’s Flooring is advisable. We bring years of experience to ensure your floors are not just prepared, but prepped with precision and care. Our commitment to excellence guarantees that every flooring project we undertake begins with a solid foundation for success.
As you embark on your flooring renovation journey, remember that proper preparation is key. By following these steps, you lay the groundwork for flooring that not only looks exceptional but also stands the test of time. For more detailed guidance or to discuss your specific needs, reach out to John’s Flooring Demo & Prep, where we turn potential into perfection.
/filters:no_upscale()/filters:format(webp)/media/7599936a-a937-4809-9f1e-71a6f6a7b777.webp)
/filters:no_upscale()/filters:format(webp)/media/228f22fd-a659-4e5f-b6ea-702276badfd5.png)