The Comprehensive Guide to Flooring Prep and Demo Excellence Jun 27, 2026
Before diving into the demo process, always begin with a thorough assessment of the existing floor. Understanding the current condition, type, and installation method of your floor will inform your approach to flooring demo and prep. For example, removing tiles requires a different technique compared to carpet or hardwood. A detailed inspection helps identify any hidden concerns such as water damage or subfloor issues that might need addressing.
Once you've assessed the floor, you’ll need the right tools and safety gear. Essential equipment includes pry bars, scrapers, floor strippers, and a heavy-duty shop vacuum. Safety should not be overlooked; equip yourself with goggles, gloves, and a dust mask to protect against debris and dust particles. If you encounter toxic materials like asbestos, it’s crucial to consult professionals who specialize in hazardous material removal to avoid health risks.
Flooring demo involves the complete removal of existing flooring materials. Start by clearing the workspace entirely to avoid any obstructions that might slow down the process. Depending on the material, be prepared for some heavy lifting and possibly even a bit of elbow grease. Tiles may require chiseling or a floor scraper, while carpet likely needs to be cut into smaller pieces for easy removal. Hardwood floors might necessitate a bit more finesse to prevent damage to the subfloor.
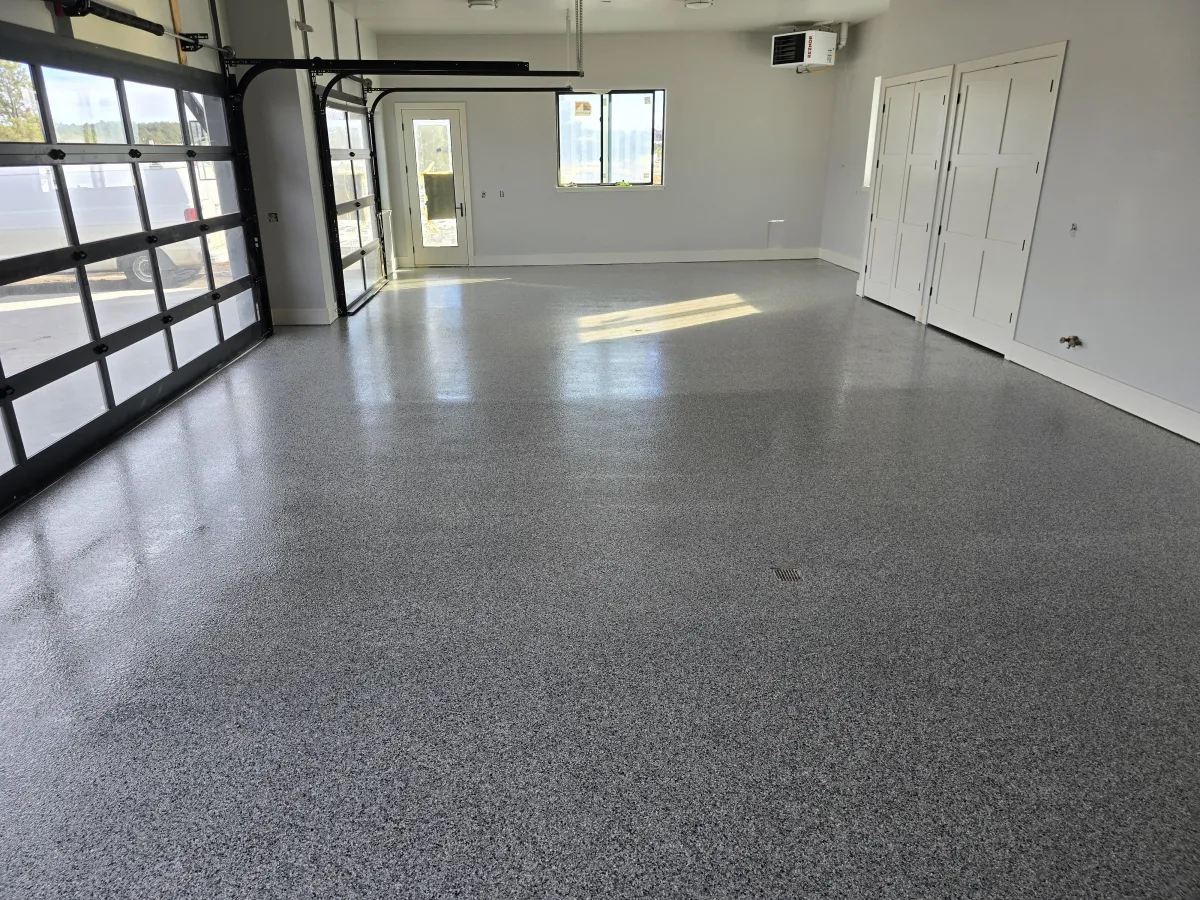
With the old flooring out of the way, the prep stage can begin. Proper floor preparation is crucial for the longevity and appearance of your new flooring. This step involves cleaning and smoothing the subfloor, ensuring it is dry, level, and free of any old adhesive or debris. Any imperfections or uneven spots should be addressed to avoid complications with the new flooring installation.
Moisture testing is an often-overlooked but critical component of flooring prep. Excess moisture can lead to adhesive failure and floor warping. A simple moisture test can save you from these potential pitfalls, and John's Flooring Demo & Prep can provide professional assistance in this area, ensuring your subfloor is within optimal conditions for new installation.
Finally, consider the transition spaces between different flooring types or rooms. Proper underlayment can make all the difference in smoothing transitions and providing a solid base for the new floor. Whether it’s a sound barrier under laminate or a moisture retardant under hardwood, selecting the right type of underlayment is essential.
In conclusion, excellence in flooring prep and demo lies in attention to detail and proper planning. By understanding your starting point, using the appropriate tools, and ensuring your subfloor is adequately prepared, you create a foundation for a successful installation. At John's Flooring Demo & Prep, our experts are ready to assist you every step of the way, ensuring your project not only meets but exceeds expectations. From initial assessment to perfect final touches, trust our team for a seamless flooring transformation.
/filters:no_upscale()/filters:format(webp)/media/7599936a-a937-4809-9f1e-71a6f6a7b777.webp)
/filters:no_upscale()/filters:format(webp)/media/228f22fd-a659-4e5f-b6ea-702276badfd5.png)